Hey all, I know it's been a while since the last post, but there really hasn't been a whole lot of fishing-related news for me to post. With the warming weather, hatching bugs, and new toys, though, I've got lots to write about again!
The biggest news is that about a week and a half ago, I became the proud new owner of a new ultralight fly rod.
Back in early March (when we were still buried under an unhealthy dose of snow), I started talking to friend and rod builder Skip Hughes of Mile Creek Custom Rods to discuss particulars of having a custom fly rod built. This, on the heels of barely missing an opportunity at buying a used 1wt online. As soon as I made the decision to go for it, I checked back, and the thing had sold.
Skip, for his part, did a great job of explaining my options, popular choices, and things to keep in mind while shopping around for components. He was also able to answer every question I had about rod building, and ultralight fly rods. Eventually, I decided to pull the trigger, and put together a list of preferred components and sent it off to Skip. Within a week or so, he'd ordered and received most of the components and could begin building.
He kept me posted every step of the way, and made sure to get my preference on any of the finer points that we hadn't discussed. He also created a photo album on Facebook on the Mile Creek Custom Rods page, with shots of guides, grips, reel seats, and the rod itself, as the build progressed.
Eventually, the time came, and Skip let me know that the final coat of finish was drying on the rod, and it'd be ready to fish soon. As luck would have it, a friend of mine was playing a gig in Erie that weekend, so rather than having to wait until mid-May (when I knew I'd be fishing with Skip at Oil Creek), or having it mailed, I decided to make a trip north.
Upon getting to finally check out the rod, i found it to be everything I'd hoped for. Quick, responsive, sensitive, and light as a feather. The components that I'd decided upon (with Skip's help and advice) look great together, and are functional and appealing, without looking gaudy. Skip's workmanship is top-notch as well, with flawless finish, tight, even thread work, neat, clean assembly, and attention to detail.
The Details:
Blank: TFO Finesse 6' 9" 1 weight
This is a beautiful green blank in a shade somewhere between the olive green of the Sage TCX and the more emerald green of the Redington CPS. It comes from the factory with the TFO logo and the blank particulars (length and weight) already printed on it, in gold. Action-wise, I'd say it's just a bit softer than a St. Croix Avid (SC III). It's very precise but whether because of the short length, light weight, or action, it isn't terribly forgiving for a moderate-fast rod. That said, as long as you pay attention to what you're doing, anyone proficient in fly casting should have no problems. As is to be expected with a moderate-fast 1wt, it struggles in a stiff wind, but surprisingly, it casts pretty well even in a slight breeze.
Guides: REC Recoil single foot guides
Skip reccomended these guides strongly and I'm glad he did. These guides are incredibly light, look great in a minimalist way, and are unbeatable in terms of durability. They're made of a nickel-titanium alloy, so there's no need for any kind of plating or coating that might chip off later. Also, as a unique property of this alloy, these eyes are flexible, but have a "memory" that immediately brings them back to their original shape without any deformation whatsoever. You can literally push these guides down flat against the blank, and when you let go, they bounce back, unharmed. Try doing that with your stainless steel guides. (Actually don't try that. They will break your rod.)
For the stripping guide, I went with a tiny, single foot, titanium Fuji guide with a silicon carbide (SiC) insert. The SiC guides are unbeatable in their smoothness and abrasion resistance, and the titanium frame and single-foot configuration ensures that it's as light as possible.
Grip: Half-wells cork grip
Nothing too outlandish here. I've seen some of Skip's other work, and he's extremely talented. Capable of making some really nice looking grips, he had plenty to offer, but for this rod, I wanted to go fairly simple in terms of looks. With the low-key guides and wraps I'd decided on, I felt that straight, good-quality cork was the only way to go. Skip chose some great cork rings and turned this grip himself, just for this rod. It is comfortable solid, and transmits the slightest tick in the rod directly to my hand.
Reel Seat: REC CRNS Downlocking Cap & Ring
If any one part of this rod was a "splurge" in the budget, this was it. I figure that, of all the parts of the rod, this is the part I'll be looking at the most, so why not make it look great. To that end, I chose this reel seat, from REC's Master Series. It's a nickel-silver (not plated, made from it) cap & ring style downlocking reel seat. I chose a downlocking to try to avoid having a small portion of the butt protruding out to get in the way and so far it's been great in that regard. I chose the cap & ring (with Skip's advice) for a more elegant, classic look, while ensuring a strong, consistent attachment point. I've been really impressed by this style. It has held my reel without budging, every time, but is so simple to operate and lets you put on or remove the reel in no time at all. REC's rope knurl adds a nice touch, especially paired with the matching winding check at the top of the grip.
For this reel seat I chose a stabilized maple burl insert that is all kinds of beautiful. While I was expecting a lighter color, the wood is actually nicer than I expected and I like it more every time i look at it. It is cut specifically for the smaller reel seat, with a recessed portion along the bottom to keep the reel from working its way up the side of the reel seat (I really dont think it would move at all anyway). The color is probably best described as a butterscotch kind of brown, with slightly darker, distinctive burl that makes for a beautiful insert, especially when coupled with the bright silver of the metal hardware, including the nickel-silver strap & ring style hook keeper.
Wraps: Olive (no Color-Preserver) with Silver Metallic Trim
This may seem like a fairly minor point...and in all honesty, it is largely a simple cosmetic preference, but this is also one area that you can't just order from a website. A real, live person has to sit down and apply a steady hand and a well-honed technique to produce even, smooth wraps. In this case, that real, live person was Skip Hughes, and those smooth, even wraps are on my 1wt, looking great. The olive thread, without the color preserver, turned to a deep, translucent green and the silver metallic trim, present only as a single turn on the guide wraps and double turn on the ferrules, adds just the right amount of accent to really make the rod "pop" while still looking elegant rather than tacky. Really, a great looking setup.
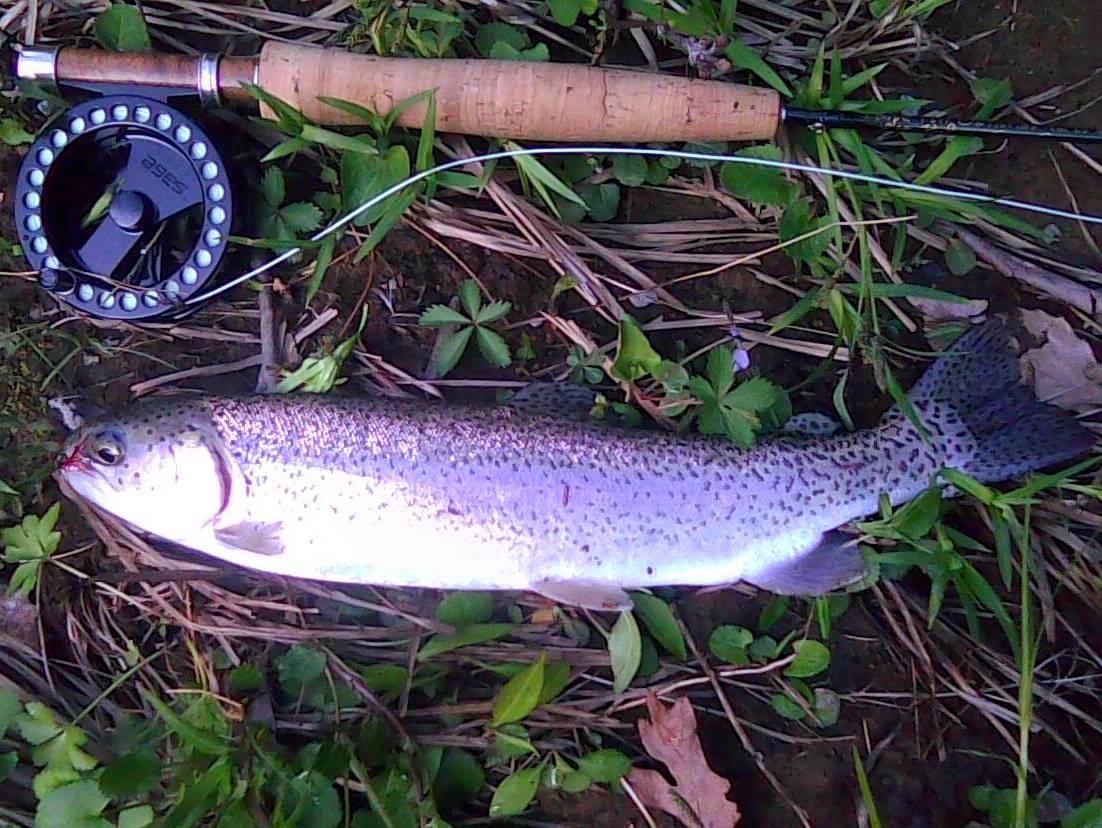
To this rod, I've completed the setup by pairing it with a Sage 3100 reel, which is simple, durable, and provides a very large arbor (to reduce line coiling memory and make for a faster pickup of line), as well as being among the lightest reels on the market.
I've spooled the 3100 with a Sage Quiet Double Taper line in DT1F.
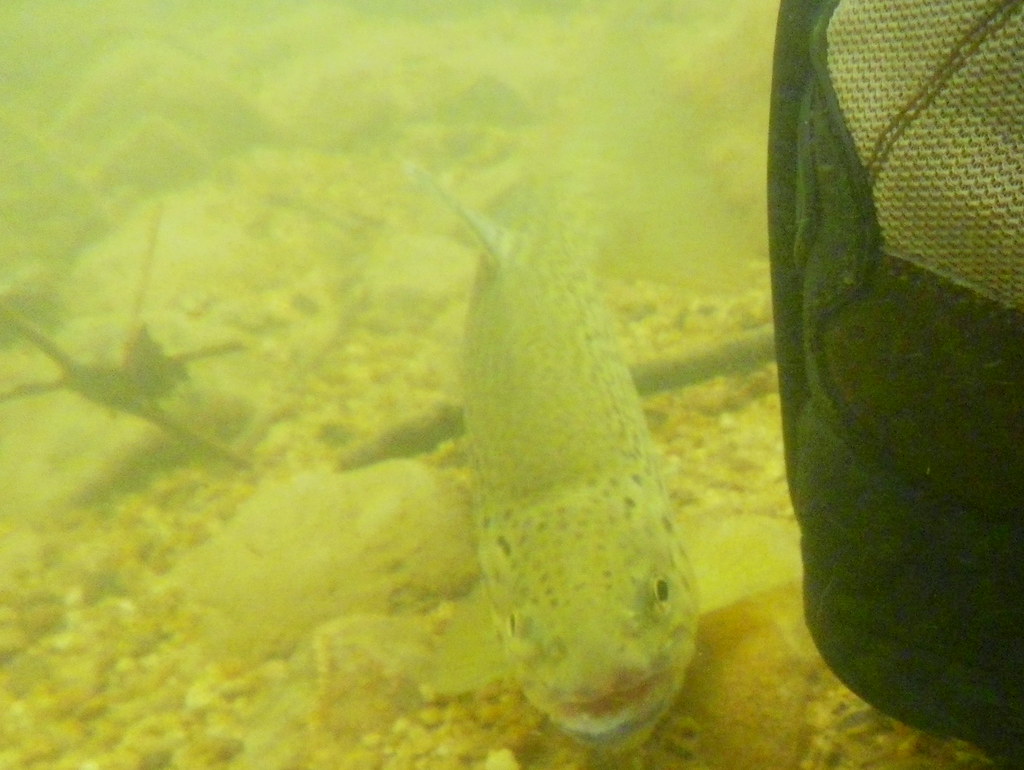
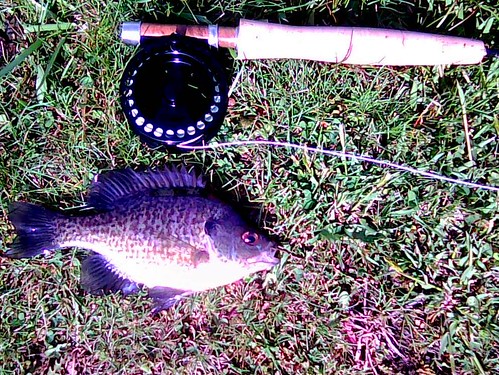
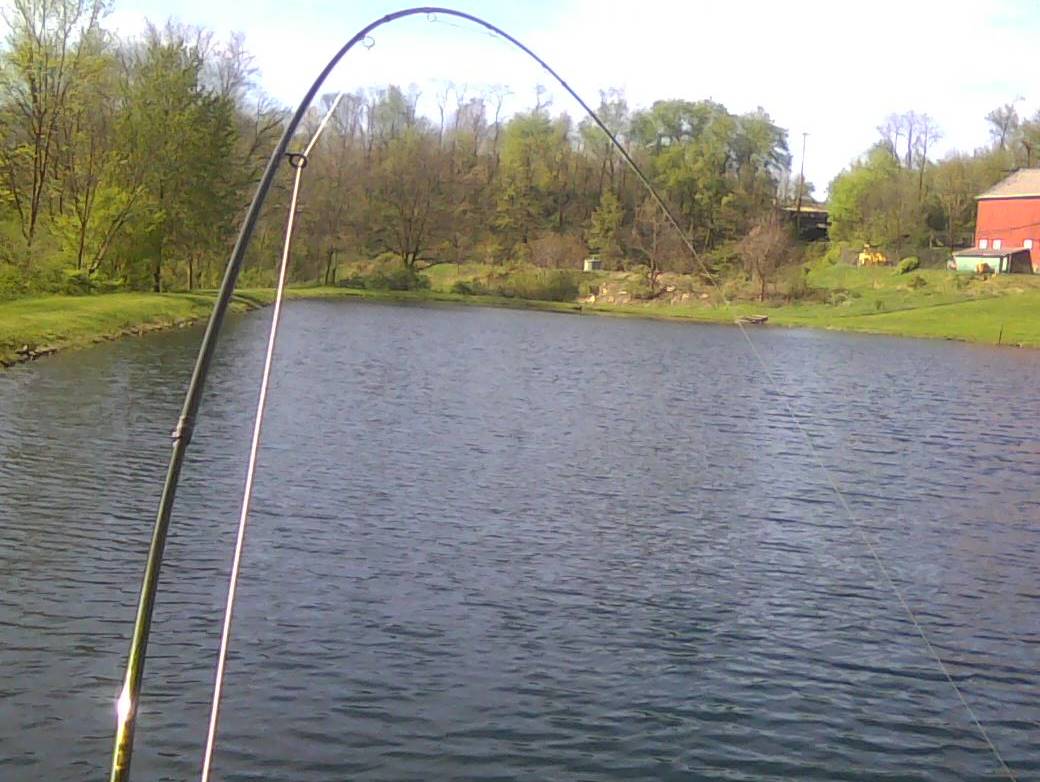
So far, I've caught somewhere between 25-35 fish, among 4 species (bluegill, largemouth, rainbow trout, and one very small, very energetic creek chub), and this rod has been great every step of the way. Depending on where the weekend takes me, I hope to add brookies to that list as well.
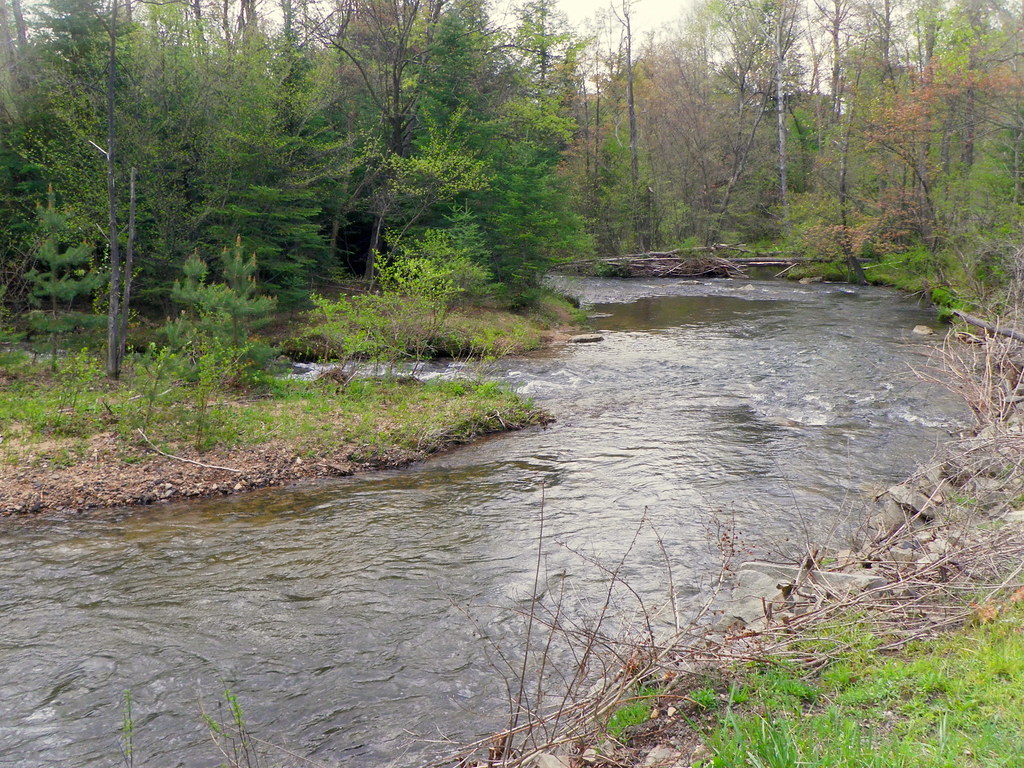
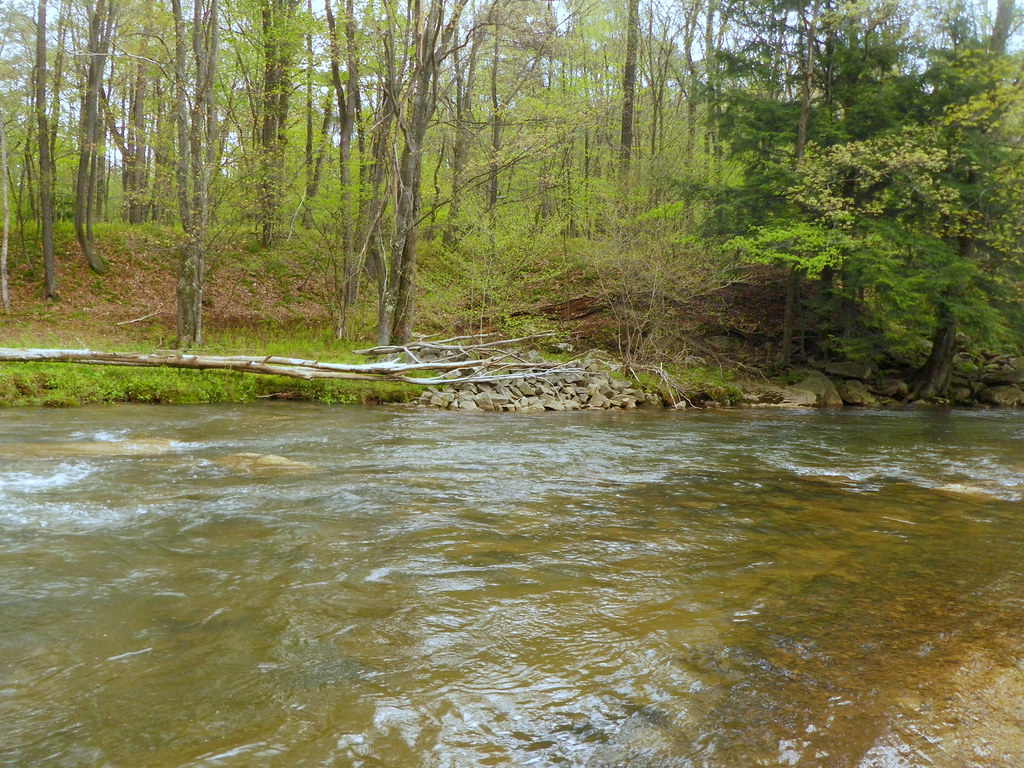
For now, though, here's a few pictures:
That's it for now! Fly tutorials, more pics, and some randomness in store for the near future!


 5/27/2010 10:53:00 AM
 Mark
Mark


.jpg)